4 Easy steps to get started with The Next Ad’s Shopping Autopilot
Getting started with Shopping Autopilot is easy. 4 steps in just a few seconds. Sit back and relax while we do the hard work. Follow the steps as described below and launch your first campaign on Google Shopping.
- Connect your Shopify account
- Create your Google Ads & Merchant Center Account with us
- Complete your account set-up
- Publish your first campaign
1. Installation of the Shopping Autopilot App with Shopify
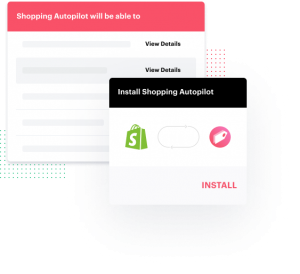
Go to The Next Ad Shopping Autopilot in the Shopify App Store. Click on the “Add app” button to install the Shopping Autopilot app.
You will be guided to The Next Ad’s customer creation to continue setting up your Shopping Autopilot account. Start connecting your Shopify Webshop to The Next Ad’s Shopping Autopilot.
Verify your account creation in your email and continue the set-up process.
2. Create your Google Ads & Merchant Center Account
When prompted into the Shopping Autopilot, you will be asked to create an ad account with us. Simply create one with just one click and continue the Account Set-Up. We will create a Merchant Center account for you in the background and import the products of your webshop.
3. Complete your account set-up
In the Account Set-Up we fetch all information from your Shopify account, such as the claimed Website URL and product feed.
This step might take a few minutes. But no worries. Just keep the window open and wait until the progress bar has been moved into a full green bar.
In case of any errors or improvements, you will be notified.
4. Publish your first campaign
Done?! Awesome! You’re all set to publish your first campaign.
Create a campaign by clicking the green “create” button and go ahead.
Adjust the name of your campaign, set a desired budget and select the country you would like your Google Shopping campaign to run in.
Go! Publish your campaign and wait for the results!

